Shandong Zhancheng Intelligent Manufacturing Co., Ltd


Total Solution for Laser Equipment
Professional Manufacturer Laser Equipment
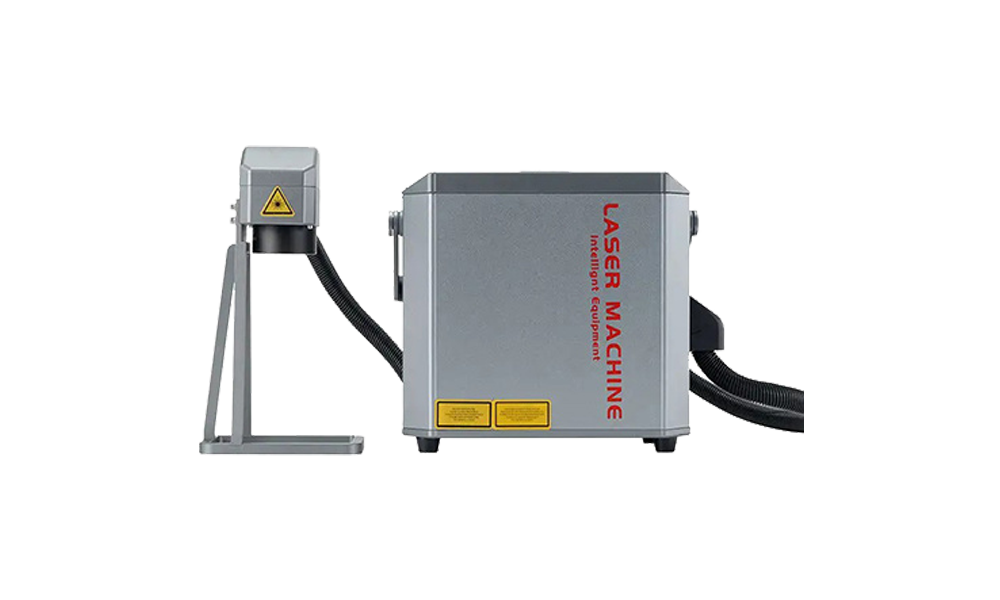
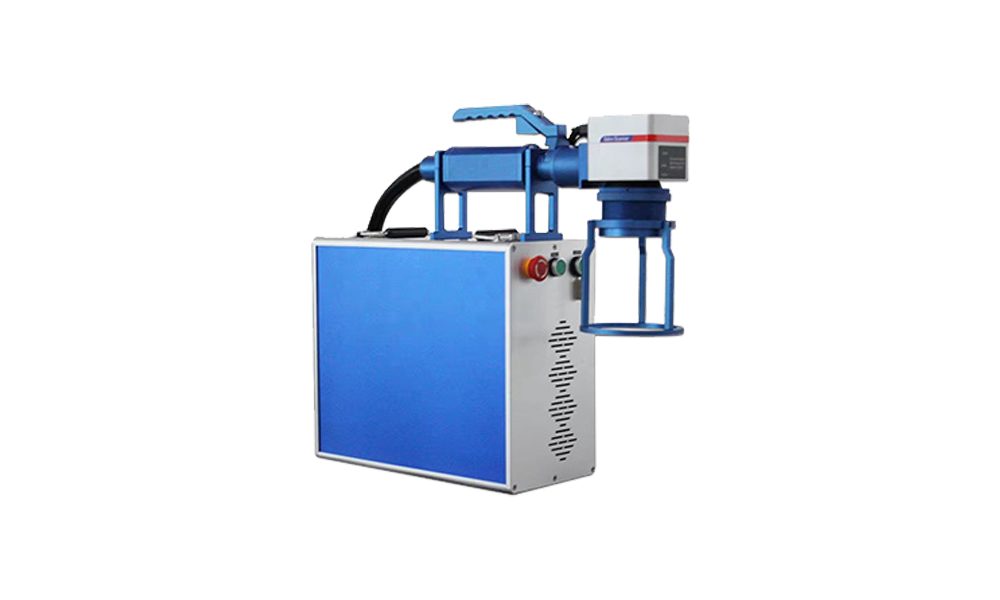
Hand-Held Laser Marking Machine
Release time:
2024-07-12
Author:
Source:
Customization system: For agents, ZCLaser provides customized tagging software and startup animation services to help agents create their own brands. Language: The marking software supports Chinese, English, Portuguese, Korean, Thai, Vietnamese, Russian, Spanish, French, German, Turkish, Arabic, Persian, etc.
Handheld Laser Marking Machine Text Editing Operation Guide
Handheld laser marking machines are widely used for marking and processing materials such as metal, plastic, and wood due to their portability and flexibility. Text editing is one of their core functions. Below is a detailed text editing operation process and precautions.
I. Equipment and Software Preparation
1. Connect the device
Connect the handheld laser marking machine to the computer via USB or Bluetooth, ensuring the driver is installed. Some models support mobile app control; download the corresponding software in advance.
2. Launch the software
Open the laser marking software provided with the device (e.g., EzCard, LaserCAD, etc.), create a new blank file, or select a preset template.
II. Text Input and Formatting
1. Add a Text Box
Locate the “Text Tool” (typically represented by a “T” icon) in the software interface, then click on the canvas area to create a text box.
2. Enter Text Content
Input the text to be marked into the text box, which supports Chinese, English, numbers, and special symbols. Note:
• Some software requires pre-installation of Chinese font libraries to prevent character encoding issues.
• Special symbols (such as the trademark symbol ®) should be checked for compatibility with the device's font library.
3. Adjust Font and Size
• Font Selection: Choose a font based on your needs (e.g., Kai Ti, Hei Ti, etc.). For industrial markings, sans-serif fonts are recommended to enhance readability.
• Font size settings: Adjust text size by dragging the slider or entering a value. It is recommended to measure the workpiece area in advance to match the font size.
• Character spacing: Adjust character spacing to avoid text overlap. Fine-tune using the “Character Spacing” option.
4. Layout optimization
• Use alignment tools (left align, center align, right align) to standardize text position.
• For multi-line text, adjust vertical spacing using the “Line Spacing” option.
• For complex layouts, combine with vector graphics (e.g., borders, logos) for integrated design.
III. Parameter Settings
1. Power and Speed Adjustment
• Laser Power: Adjust based on material hardness (30–70% for metals, 10–40% for plastics). Excessive power may cause material burning.
• Marking Speed: Slower speeds result in deeper marks. Typically set to 100-500 mm/s; testing is recommended for first-time use.
• Frequency Settings: High frequency (20-50 kHz) is recommended for metal materials, and low frequency (5-20 kHz) for non-metal materials.
2. Focus Calibration
Adjust the distance between the laser head and the workpiece using the device's focusing function to minimize the spot size. Some models support automatic focusing.
3. Marking Mode Selection
• Vector Mode: Suitable for lines and text, with fast marking speed.
• Bitmap Mode: Suitable for complex fonts or shadow effects, but takes longer.
IV. Preview and Marking
1. Simulation Preview
Click the “Simulate” button to view the marking path and check if the text position and size are accurate. Some software supports 3D preview effects.
2. Test Marking
Perform a test marking on scrap material to observe clarity and depth. If the effect is unsatisfactory, return to adjust parameters.
3. Formal Marking
• Secure the workpiece to ensure stability and prevent misalignment caused by movement.
• Start the marking process; do not look directly at the laser or touch the equipment during operation.
V. Advanced Features and Techniques
1. Automatic Serial Number Generation
Use the “Serial Number” feature to batch-generate incrementing/decrementing numbers (e.g., 001, 002), suitable for product serial number marking.
2. Import Vector Files
Supports importing AI/CDR format files to directly use pre-designed text layouts.
3. Multi-Language Support
Switch the software language interface (Chinese/English) or install multi-language font libraries to mark special characters.
VI. Common Issues and Solutions
1. Blurry Text
• Check if the focus is aligned.
• Increase laser power or reduce marking speed.
• Clean the lens and galvanometer.
2. Missing characters
• Verify font compatibility and replace with system-provided fonts.
• Check if the text box exceeds the canvas boundaries.
3. Material burning
• Reduce power or increase speed.
• For non-metallic materials, apply a protective film to minimize carbonization.
VII. Safety Precautions
1. Wear safety goggles during operation to avoid laser reflection injuries.
2. Ensure proper ventilation in the work area to prevent smoke buildup.
3. Perform regular maintenance on the equipment, including cleaning optical lenses and tracks.
By following the above steps, you can efficiently complete text editing and marking with a handheld laser marking machine. It is recommended to record parameter combinations for different materials during initial use and gradually accumulate experience to improve efficiency.
The handheld laser marking machine produced by ZCLASER is reliable in quality and comes with video tutorials. For first‑time users, we provide online remote guidance on how to operate the equipment.
Key words:
handheld laser marking machine,laser marking mnachine,portable laser marking machine,fiber laser marker,fiber laser marking machine,metal engraving machine,metal work
Next
Prev:
Next:

Floor 16, Building A, Rongsheng Times International, Licheng District, Jinan City, Shandong Province,China